 Cooking Techniques to Become a Better Home Cook")
Note: This is a guest post by Bri McKoy.
My first kitchen as a newlywed was nearly the size of a postage stamp and I couldn’t be bothered to consider how to use it for anything but as an extended closet.
That is until I realized eating out for every meal was going to send us into debt.
Learning to cook was incredibly daunting. There was no shortage of cookbooks, food shows, and YouTube tutorials that were filled to the brim with recipes and cooking techniques. I didn’t know where to start. I cooked through several cookbooks (all while simultaneously googling for help, calling my mom, and in the end abandoning all to serve what was becoming my specialty, Dry But You Won’t Die Chicken).
Through so many attempted dishes it occurred to me I was becoming a proficient reader of recipes but a far cry from a confident home cook.
So I decided to learn just a few cooking skills and techniques to see if that could change the game in the kitchen for me, and it did. I went from burning almost everything to food blogging to writing The Cook’s Book (the cookbook I wish I had when I was learning to cook).
Here are five techniques to keep in your apron pocket which will lead to delicious, repeat-worthy recipes.
1. How to Cook in a Pan Without Food Sticking
My first love in the kitchen was a stainless steel pan. I knew the power of this pan would mean delicious sauces, perfectly seared meat, and versatility that would follow me into all my cooking adventures. The problem: I could not figure out how to cook anything in the pan without it sticking. And then I realized that was because I was not properly heating my pan.
When your pan is properly heated the metal turns into a non-stick surface allowing foods to cook to perfection without sticking. You can determine how to properly heat your pan with the water droplet test.
Heat your pan on medium high heat. After 1-2 minutes place ⅛ of a teaspoon of water into the pan (just a small droplet). If it just makes a small puddle, your pan is not hot enough. You are looking for the droplet of water to seamlessly glide around in your pan staying intact as a round bubble of water. Complete this test every 30 seconds until you see the round droplet gliding around the pan (like this):
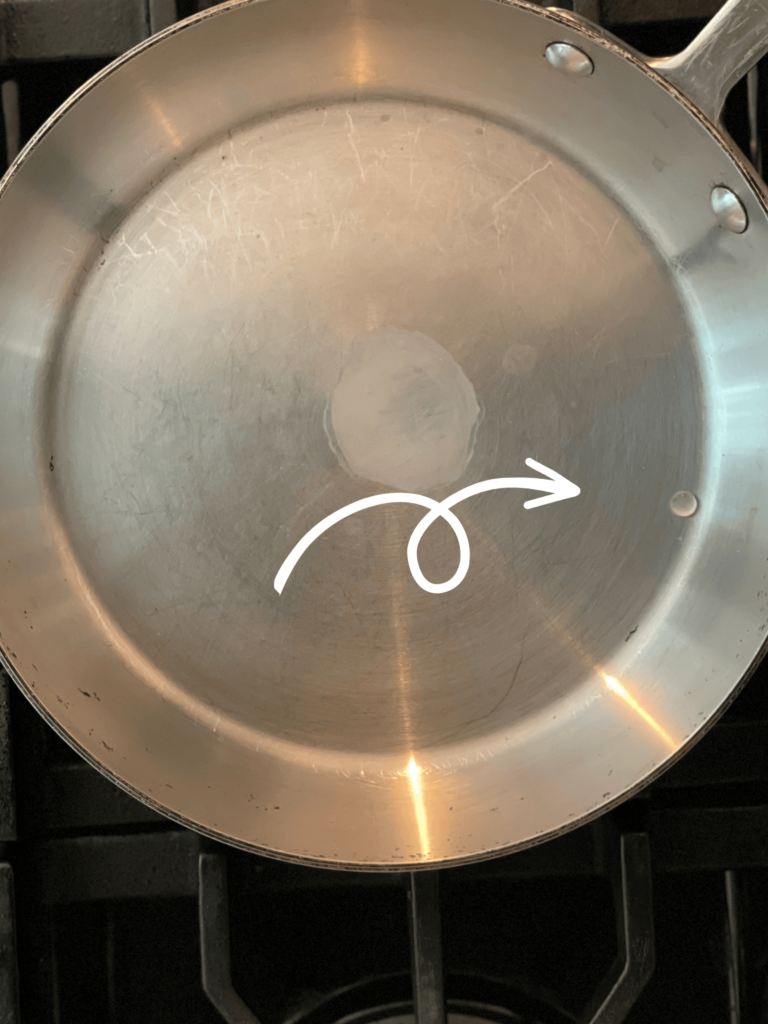
At this point you can wipe away the droplet, add your oil and meat and cook. Your pan will now cook your food without it sticking! After a few times of doing this test you will know exactly how long to heat your pan and it will become like second nature.
2. How to Get Major Flavor Pay-Off in Simple Dishes
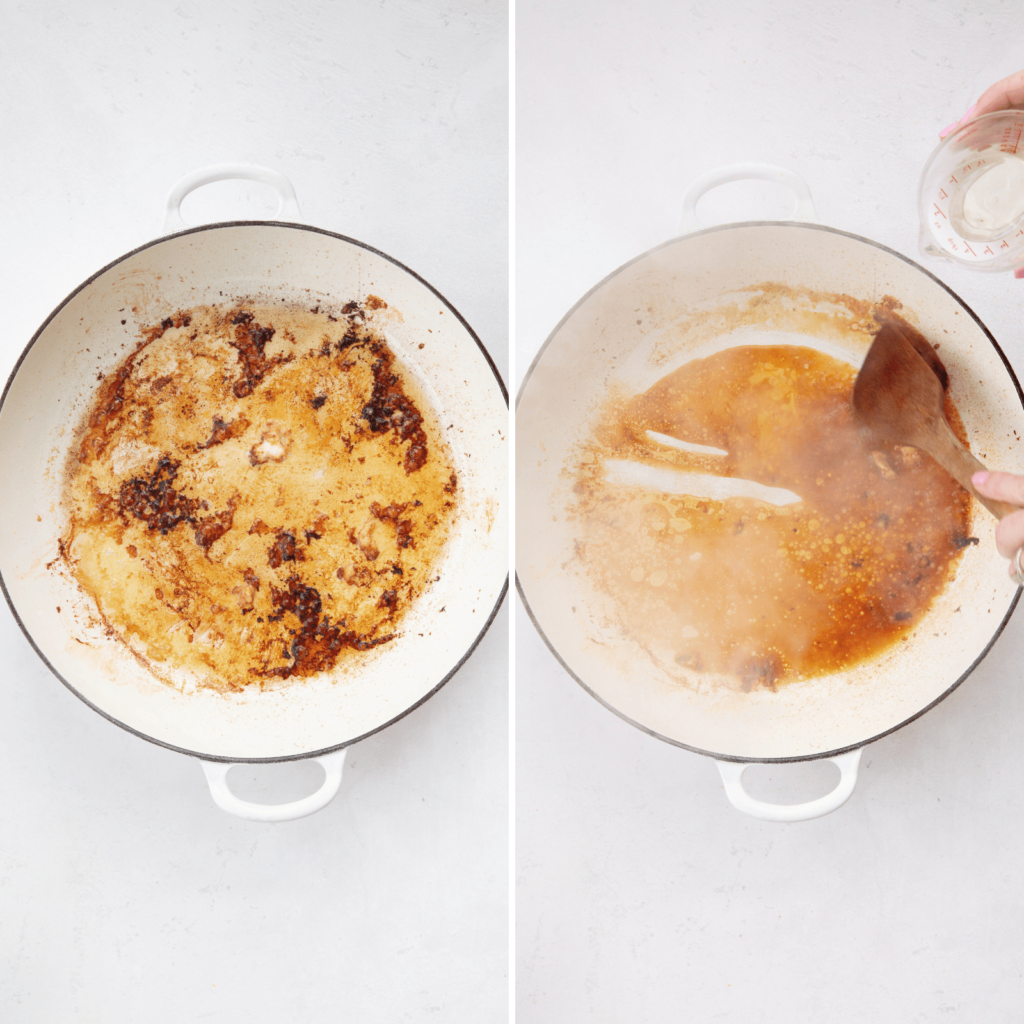
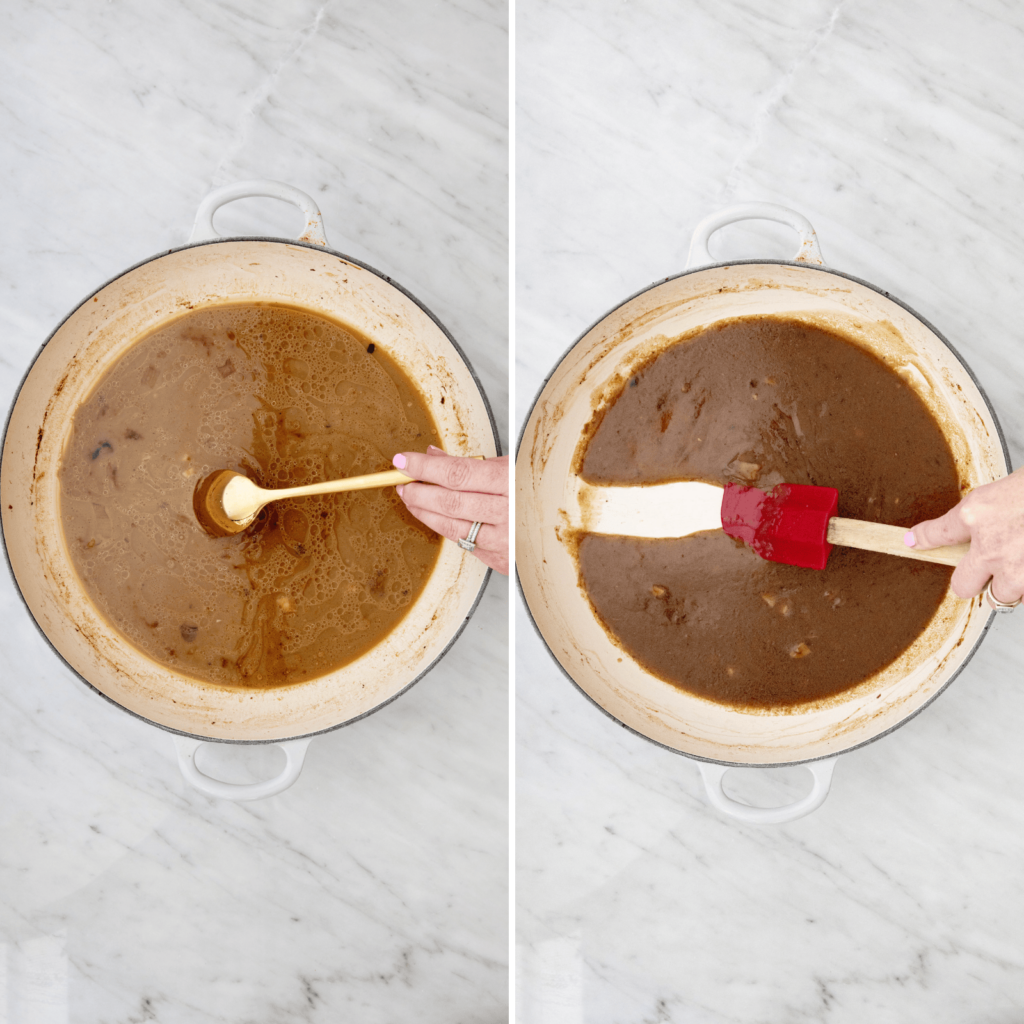
If you want your dish to taste like it has been simmering on the stove all day, deglazing your pan is the secret that keeps on giving. Anytime I am cooking a dish (even if the recipe does not call for it) and I notice some browned food stuck in the pan, I deglaze. Those browned bits are flavor and they even have a culinary term: fond.
To deglaze, take ¼ cup of any liquid of choice (I prefer white wine when cooking with chicken or pork and red wine when cooking with red meat but you can also use stock or water). Slowly pour the liquid on top of the browned bits and work it up using a wood spatula. This will add the most rich flavor to your dish and bonus, it keeps your pans clean too!
3. How to Know if Your Chef’s Knife Needs Sharpening
This tip is more about an essential kitchen tool but it is a game changer when it comes to bringing dishes together. A high-quality, stainless steel chef’s knife can make cooking more efficient. Every time you use your knife the blade slightly dulls. Over time you might notice you require more effort when using your knife. The good news is, this just means you need to get your knife sharpened.
Once or twice a year I will take my knife into a kitchen store (most kitchen stores offer knife sharpening for just a handful of dollars). It doesn’t matter what brand your knife is, where you bought it, or how long it has been since you’ve purchased it, just as long as it is a stainless steel blade.
But how do you know if your knife needs to be sharpened? Simply grab a piece of paper and run your knife down the middle. If it slices through the paper like butter – you have a perfectly sharpened knife! If it catches several times, or runs down the paper jagged – it’s time to get your knife sharpened.
4. How to Season with Salt
I like to think of salt as the spotlight for a dish. Think of a grand play: all the actors are on stage, the props are set up, the tech is ready to go, the curtains draw—but there is no spotlight. The show is going to fall pretty flat without lights. This is what salt does for food. It simply highlights all the best parts of the dish. Everything needs salt (even your salads! Even your sandwiches!). But the key is to find the salt you love and learn how to use it.
Not all salt is the same. In fact two popular salt brands used in home kitchens are very different from each other. Diamond Crystal Kosher salt (my favorite) has a more subtle saltiness so I find I like to use more of it when cooking. But Morton Kosher salt (what you will most likely find in your grocery stores) is much more salty. In fact, so salty that you only want to use half of what a recipe using Diamond Crystal salt uses.
Find the salt you love to cook with and learn how to use it to season your food:
- Is it overly salty (when you take a taste of it does your whole mouth feel like you took a gulp of the ocean?), use less when cooking with it.
- Is it more subtle (when you taste it you get salt but your mouth doesn’t immediately start watering), use a little more when cooking and taste as you go.
- Is it chunky or flaky? Do not use this salt for cooking as the crystals have a harder time covering the surface area of the dish and seasoning the food. Instead use it as a finishing salt. Add just a sprinkle to plated dishes.
Once you declare the salt you love to cook with you will become an expert at seasoning your food so your dish can take center stage.
5. How to Thicken Soups, Stews, and Sauces
Have you ever made a dish that smelled amazing and tasted delicious but the stew was watery or the sauce was liquidy? The flavor is there but the liquid needs to be thickened. All you have to do is add equal parts cornstarch or arrowroot to equal parts water to make a slurry. Mix well to combine and while your dish is still over the heat, slowly pour in the slurry while stirring. Allow the dish to simmer for 3-5 minutes to thicken!
Measurements for a Slurry:
- Sauces: 1 teaspoon arrowroot to 1 teaspoon of water
- Stews: 1/2 tablespoon of arrowroot to 1/2 tablespoon of water
- Soups :1 tablespoon of arrowroot to 1 tablespoon of water
If your desired thickness is not achieved just make another slurry and repeat.
These simple techniques will give you kitchen wins over and over so you can become a more joyful and confident home cook.
***
Bri McKoy is an accidental home cook who fell in love with cooking and has used her platform, online masterclasses, and live cooking classes to teach thousands of people how to become a more confident and joyful home cook. Her cookbook, The Cook’s Book: Recipes for Keeps and Essential Techniques to Master Everyday Cooking releases tomorrow.